Common mistakes during washer and dryer installation include skipping leveling, ignoring water-pressure checks, and improper venting, which can lead to noise, leaks, or breakdowns. Properly installing a washer and dryer requires site prep, connections, testing, and the right tools. A careful, step-by-step approach protects your investment — especially when installing scratch-and-dent appliances.
A new scratch-and-dent washer and dryer should make life easier — yet one bad installation can lead to leaks, loud vibrations, error codes, or even dryer fires. Many homeowners end up paying for repairs that simple installation checks would have prevented.
Whether you’re replacing an old set or upgrading to a scratch-and-dent washer and dryer to save money, how you install the units matters as much as what you buy.
In this guide, you’ll learn the most common mistakes people make during washer and dryer installation, how to avoid them, and what to watch for when installing a washer and dryer in your own home. Keep reading to learn more.
What is washer and dryer installation?
Washer and dryer installation goes far beyond sliding the units into a closet and plugging them in. Proper installation includes preparing the floor, confirming that the electrical and plumbing systems are compatible with the appliances, and making sure the machines are level.
When you’re installing a scratch-and-dent washer and dryer, you also want to verify that any cosmetic damage is truly only cosmetic. That means checking the cabinet, door, and control panel areas around dents or scratches to be sure there are no cracks, gaps, or bent components that could interfere with normal operation.
Done correctly, installation is a one-time project that sets your machines up to run quietly and reliably for years.
Expert Insight: “Most issues people blame on the machine actually start with poor installation, not a bad washer or dryer.”
Step-by-step installation guide
1. Measure and plan the space
Before installing a washer and dryer, measure the width, depth, and height of the nook or laundry room, including doorways and hallways leading in. Leave several inches behind the units for hoses, power cords, and the dryer vent.
Planning ahead is even more important with a scratch-and-dent washer and dryer, since you don’t want to add new dents by forcing units through tight spaces.
2. Check electrical and water connections
Confirm that your outlet configuration matches your dryer type (electric dryers often require a 240-volt outlet; gas dryers use a standard 120-volt outlet plus a gas line).
Verify that hot and cold water shutoff valves for the washer work properly and that the drain standpipe or laundry sink is close enough and at the correct height for the model you’re installing.
3. Prepare the floor and surface
The surface where you’re installing a washer and dryer should be solid and as level as possible — concrete or properly supported subflooring is ideal. Sweep up debris and check for any screws or sharp objects that could damage the feet or the underside.
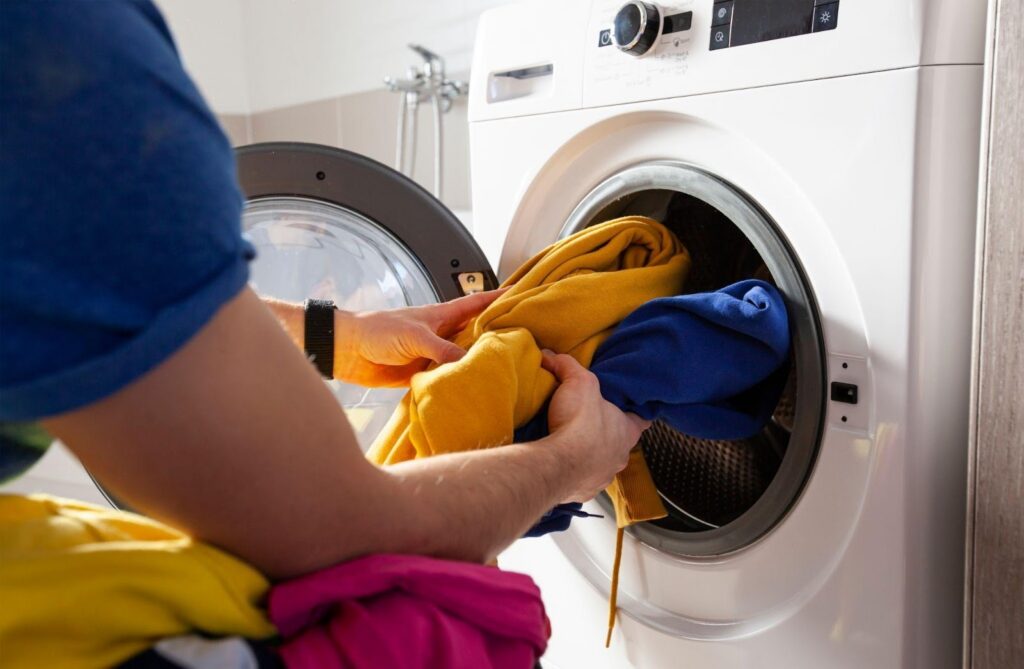
4. Position the washer first
Slide the washer into place carefully, protecting edges and corners if you’re working with a scratch-and-dent washer and dryer set. Connect the hot and cold hoses to the correct valves, attach the drain hose securely, and hand-tighten fittings before finishing with a wrench. Do not reuse old, worn hoses.

5. Level the washer
Place a level on top of the washer front-to-back and side-to-side. Adjust the feet until you center the bubble in both directions. Proper leveling is one of the most important steps in washer and dryer installation because it reduces vibration, noise, and wear on internal components.
6. Place and connect the dryer
Position the dryer, then connect the vent using rigid or semi-rigid metal ducting. Avoid long runs and sharp bends. For gas dryers, a licensed professional should make the gas connection and check for leaks. With electric dryers, plug into the correct outlet and ensure the cord is properly secured.
7. Level the dryer
As with the washer, use a level on top of the dryer and adjust the legs. This is critical if you’re installing a stacked washer and dryer, as any tilt can make the stack unstable.
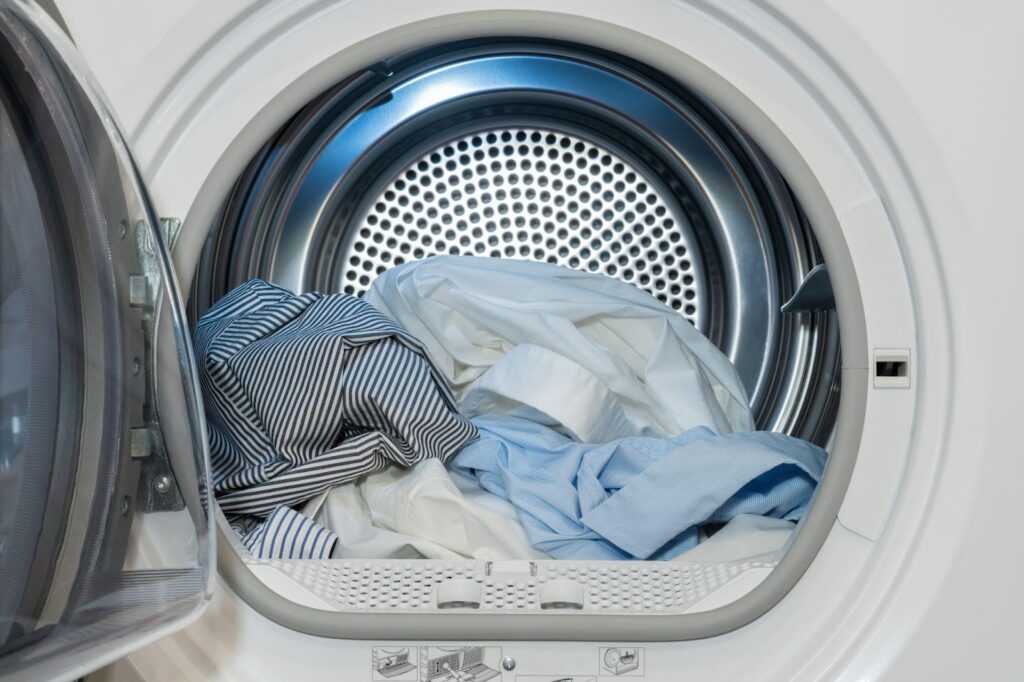
8. Run test cycles
Turn on the water, check for leaks at hose connections, and run a short wash cycle. Then dry a small load on medium heat to make sure the dryer vents well and operates without unusual noises. Testing at this stage is your final quality check in the washer and dryer installation process.
Real-life installation examples
Seeing how installation can go wrong — or right — helps highlight why the details matter.
Unleveled washer in a basement
A homeowner finished installing a washer and dryer in an older Utah basement without checking for level. On the first spin cycle, the washer vibrated violently, walked several inches, and pulled on the water lines. Over time, that stress led to a slow leak and water damage. A simple leveling adjustment and new hoses would have prevented the problem.
Crushed dryer vent in a closet
Another family upgraded to a scratch-and-dent washer and dryer set that fit perfectly in a small closet — until they pushed the dryer back too far. The flexible vent hose kinked and partially collapsed, causing long dry times and lint buildup. Once they switched to semi-rigid metal ducting and left more clearance, performance returned to normal.
Scratch and dent success story
A landlord purchased scratch-and-dent appliances for a rental property: a washer with a dented side panel and a dryer with a small scratch on the top.
By carefully installing a washer and dryer, properly leveling them, installing new hoses, and cleaning the venting, the appliances ran smoothly for years. Renters never saw the cosmetic flaws, but the owner enjoyed significant savings.
These examples show that even when you’re working with discounted equipment, good installation is the difference between ongoing headaches and trouble-free laundry.
Common mistakes to avoid
Knowing what not to do is as important as following a checklist. Here are some of the most common errors during washer and dryer installation:
1. Skipping the leveling step
Many people slide the machines into place and never adjust the feet. An unlevel washer can shake violently, walk across the floor, and cause premature wear. Take the time to level both units when installing a washer and dryer.
2. Reusing old, worn hoses
Old rubber hoses are prone to cracking and bursting, especially under constant pressure. Install new, high-quality hoses instead of reusing old ones.
3. Using unsafe dryer vent materials
Thin plastic or foil dryer hoses can crush easily, trapping lint. They’re also more flammable. Choose rigid or semi-rigid metal venting, and keep the run as short and straight as possible.
4. Overloading the electrical circuit
Plugging a dryer into an outlet that doesn’t match its voltage, or overloading a circuit with multiple heavy appliances, can trip breakers and create safety issues. Confirm electrical requirements for your specific models.
5. Ignoring manufacturer instructions
Every model has specific installation guidelines — drain height, vent length limits, stacking rules, and more. Skipping the manual is a frequent mistake when installing a washer and dryer, especially for people who assume all machines are the same.
6. Not inspecting scratch and dent units closely
With scratch-and-dent appliances, it’s easy to focus only on the discount. Before or during installation, inspect dents and scratches closely to ensure doors seal properly, panels are secure, and no functional components are bent.
7. Failing to test before “calling it done”
Some homeowners hook everything up, push the units into a tight nook, and never run a test cycle. Always test both machines for leaks, noises, and error codes.
Recommended tools and products
Having the right tools makes installation smoother and safer:
- Adjustable wrench and pliers for hose connections
- Bubble level to check both machines
- New stainless-steel braided washer hoses
- Use Teflon tape on threaded connections
- Rigid or semi-rigid metal dryer vent kit
- Vent brush or cleaning tool for existing ducts
- Moving straps or sliders to protect a scratch and dent washer and dryer when positioning
With these items ready before you start installing a washer and dryer, you’ll be better prepared to get a secure, leak-free setup on the first try.
FAQ
Q: How long does installation usually take?
For a straightforward replacement in an existing space, installation typically takes one to two hours. If you’re relocating hookups, adding venting, or stacking units, expect more time or consider hiring a professional.
Q: Can I install a scratch-and-dent washer and dryer myself?
Yes, many homeowners successfully install a scratch-and-dent washer and dryer on their own, especially if the connections are already in place. Be sure to follow manufacturer instructions, level both units carefully, and inspect cosmetic damage areas closely to confirm they don’t affect functionality.
Q: Do scratch and dent appliances need special installation steps?
Most scratch-and-dent appliances install the same way as standard models. The main difference is taking extra care when moving and positioning them so you don’t worsen cosmetic blemishes or create new ones. Otherwise, follow normal installation guidelines.
Q: When should I hire a professional?
Hire a pro if you’re dealing with gas dryer connections, new electrical circuits, tight or complex venting runs, or if you’ve never handled installing a washer and dryer before. Professional installation can also help protect warranty coverage and give you peace of mind.
Get your scratch-and-dent washer and dryer at Utah Discount Appliance Warehouse
Skip the installation headaches and shop scratch and dent washer and dryer sets at Utah Discount Appliance Warehouse. We hand-inspect every unit for full functionality and offer unbeatable savings on top brands. Visit us today or call to browse our current scratch-and-dent appliance inventory.